Using Splunk to index Minecraft server logs
Minecraft is a popular online game which combines adventure with building, much like virtual Legos.
Splunk is a powerful log indexer which allows you to search, graph and alert on events in Minecraft logs. Splunk can run on Windows, Unix and Mac OS and runs in your internal network. If you are familiar with router port forwarding rules, you can easily allow for access from the internet. Just keep in mind that the free version doesn’t allow for authentication. For the simplest setup, you can run Splunk on the same machine where you run a Minecraft server. The free version of Splunk allows up to 500MB of data a day. Most Minecraft servers will generate under 20 MB day. Splunk also allows a an enterprise trial for 60 days after which you can purchase or downgrade to the free license. There are also options to forward data to Splunk Storm, a new, online version of Splunk which allows a free account for up to 5 users and 1GB of log data.
Splunk will be able to show you both interesting and useful data on your Minecraft server. Minecraft server admins will find it helpful to research bad player behavior known as griefing. Here a few of the things you can search, summarize or graph.
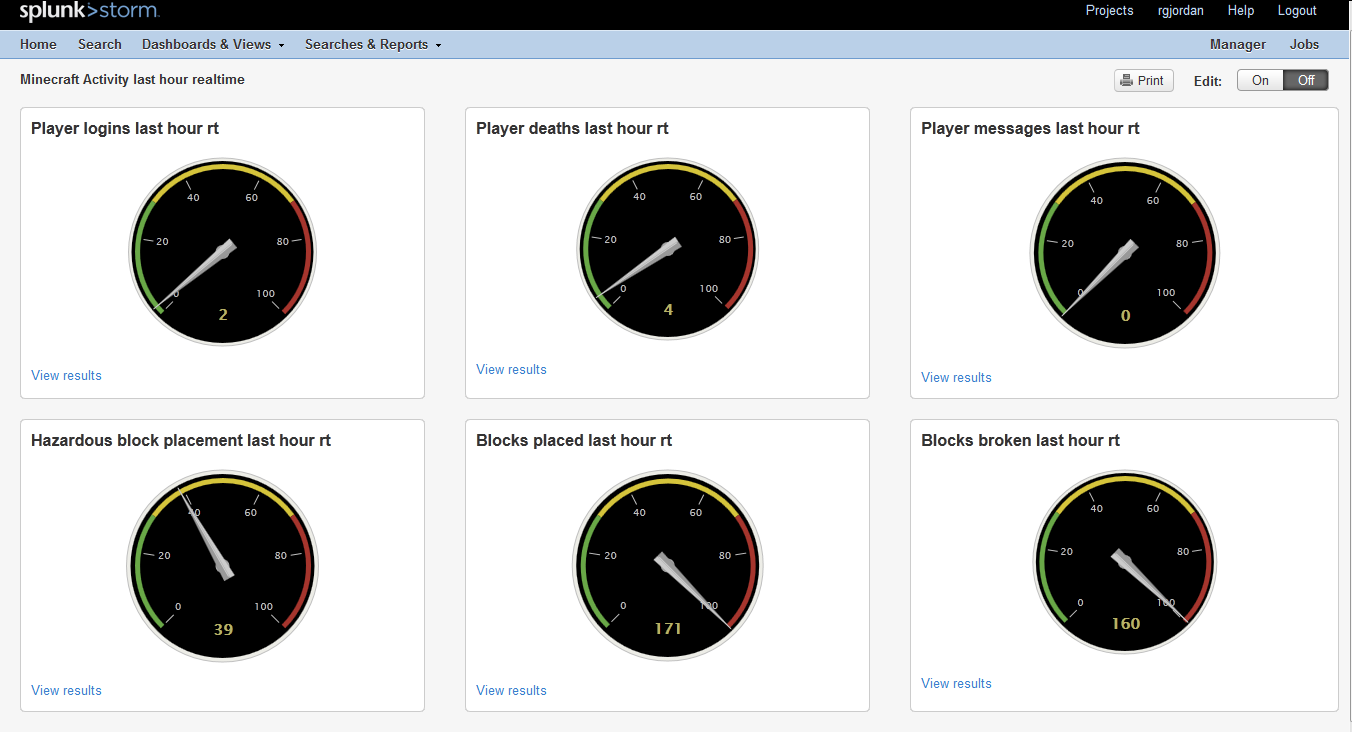
– Player logins
– Player IPs
– Player session time in real time or Minecraft fans may which to convert this to Minecraft days
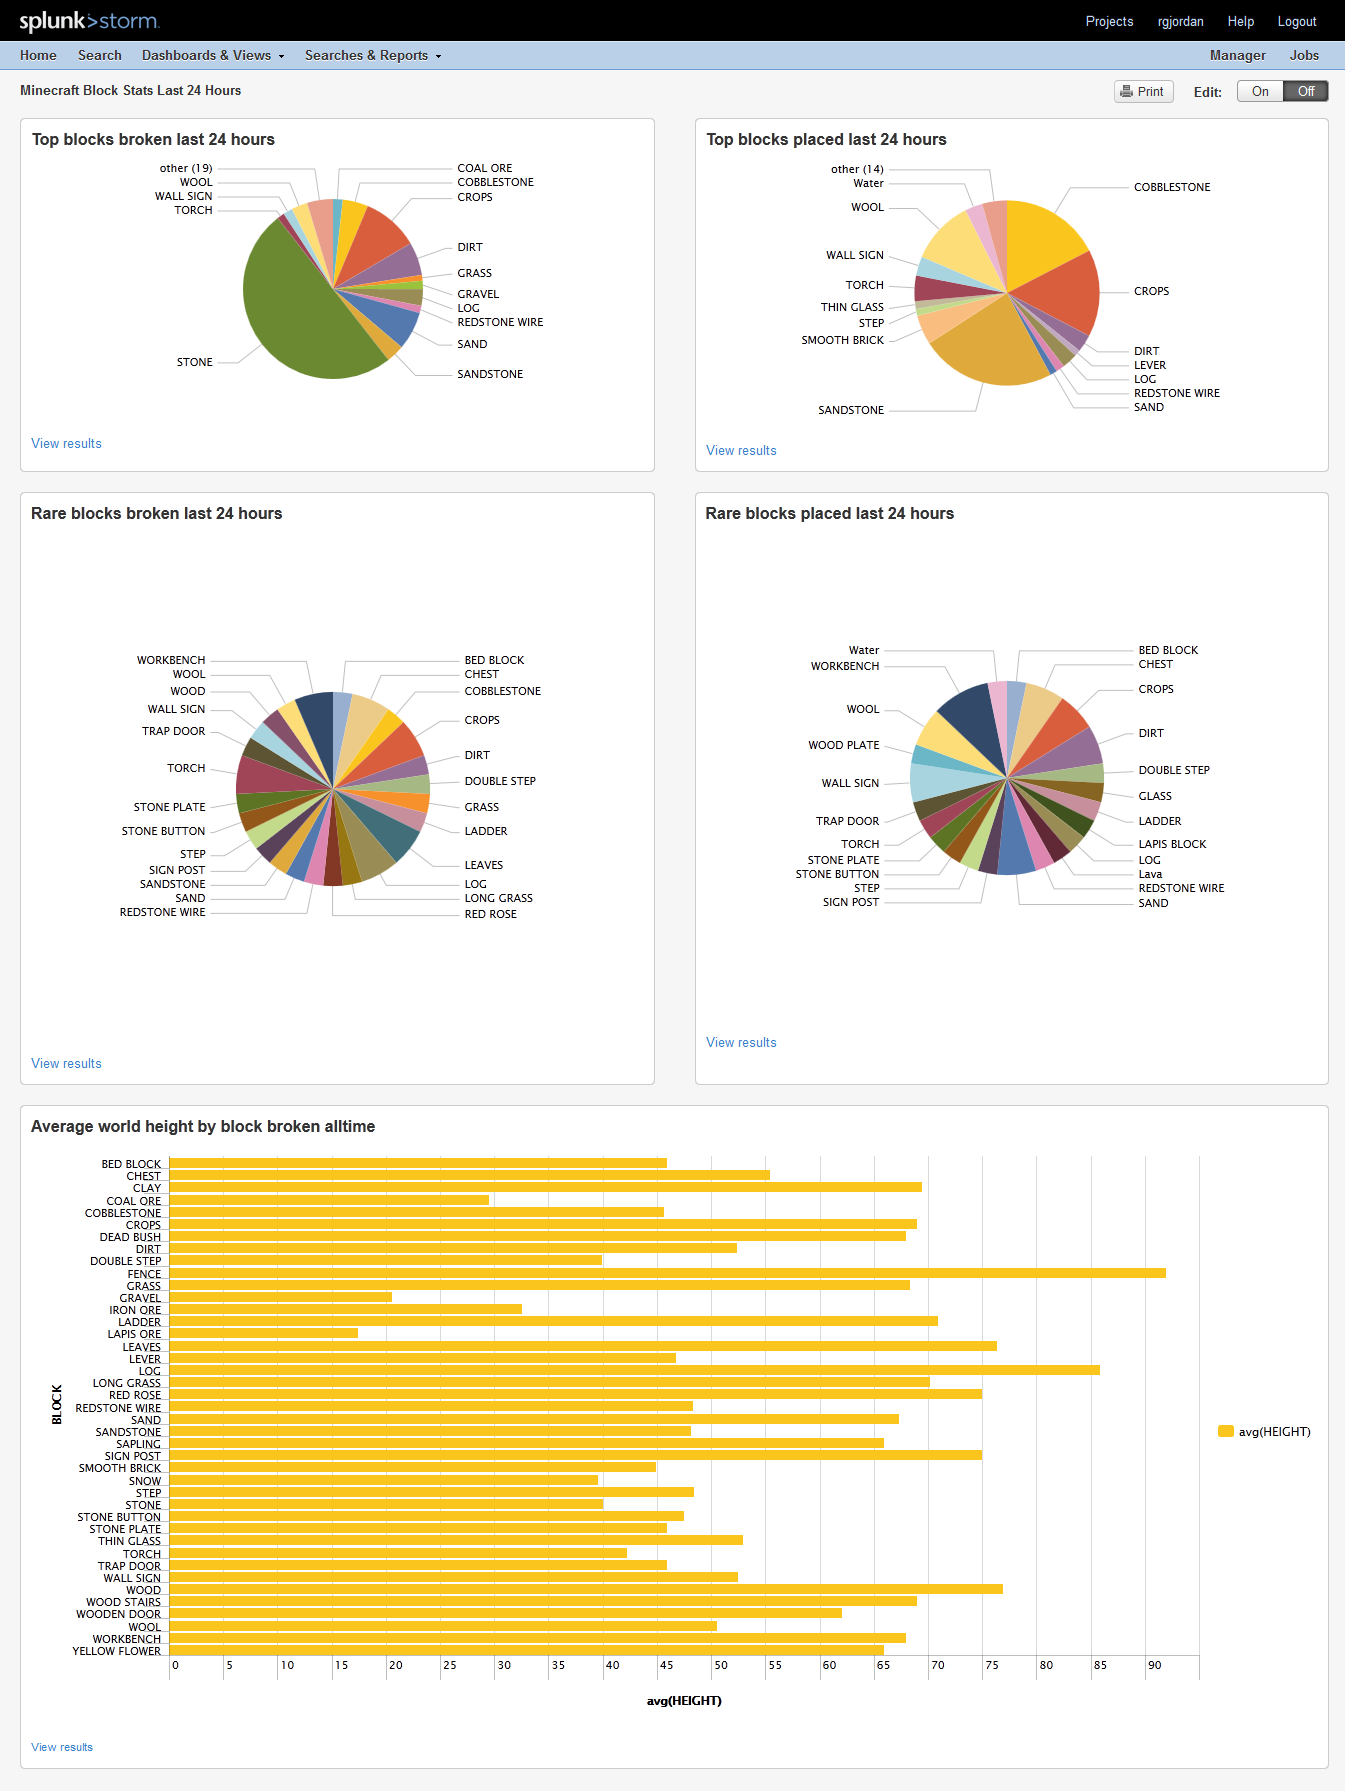
– Blocks placed with latitude, longitude and height info
– Blocks broken with latitude, longitude and height info
– Dangerous block placement such as fire, water and lava with latitude, longitude and height info
– Player deaths
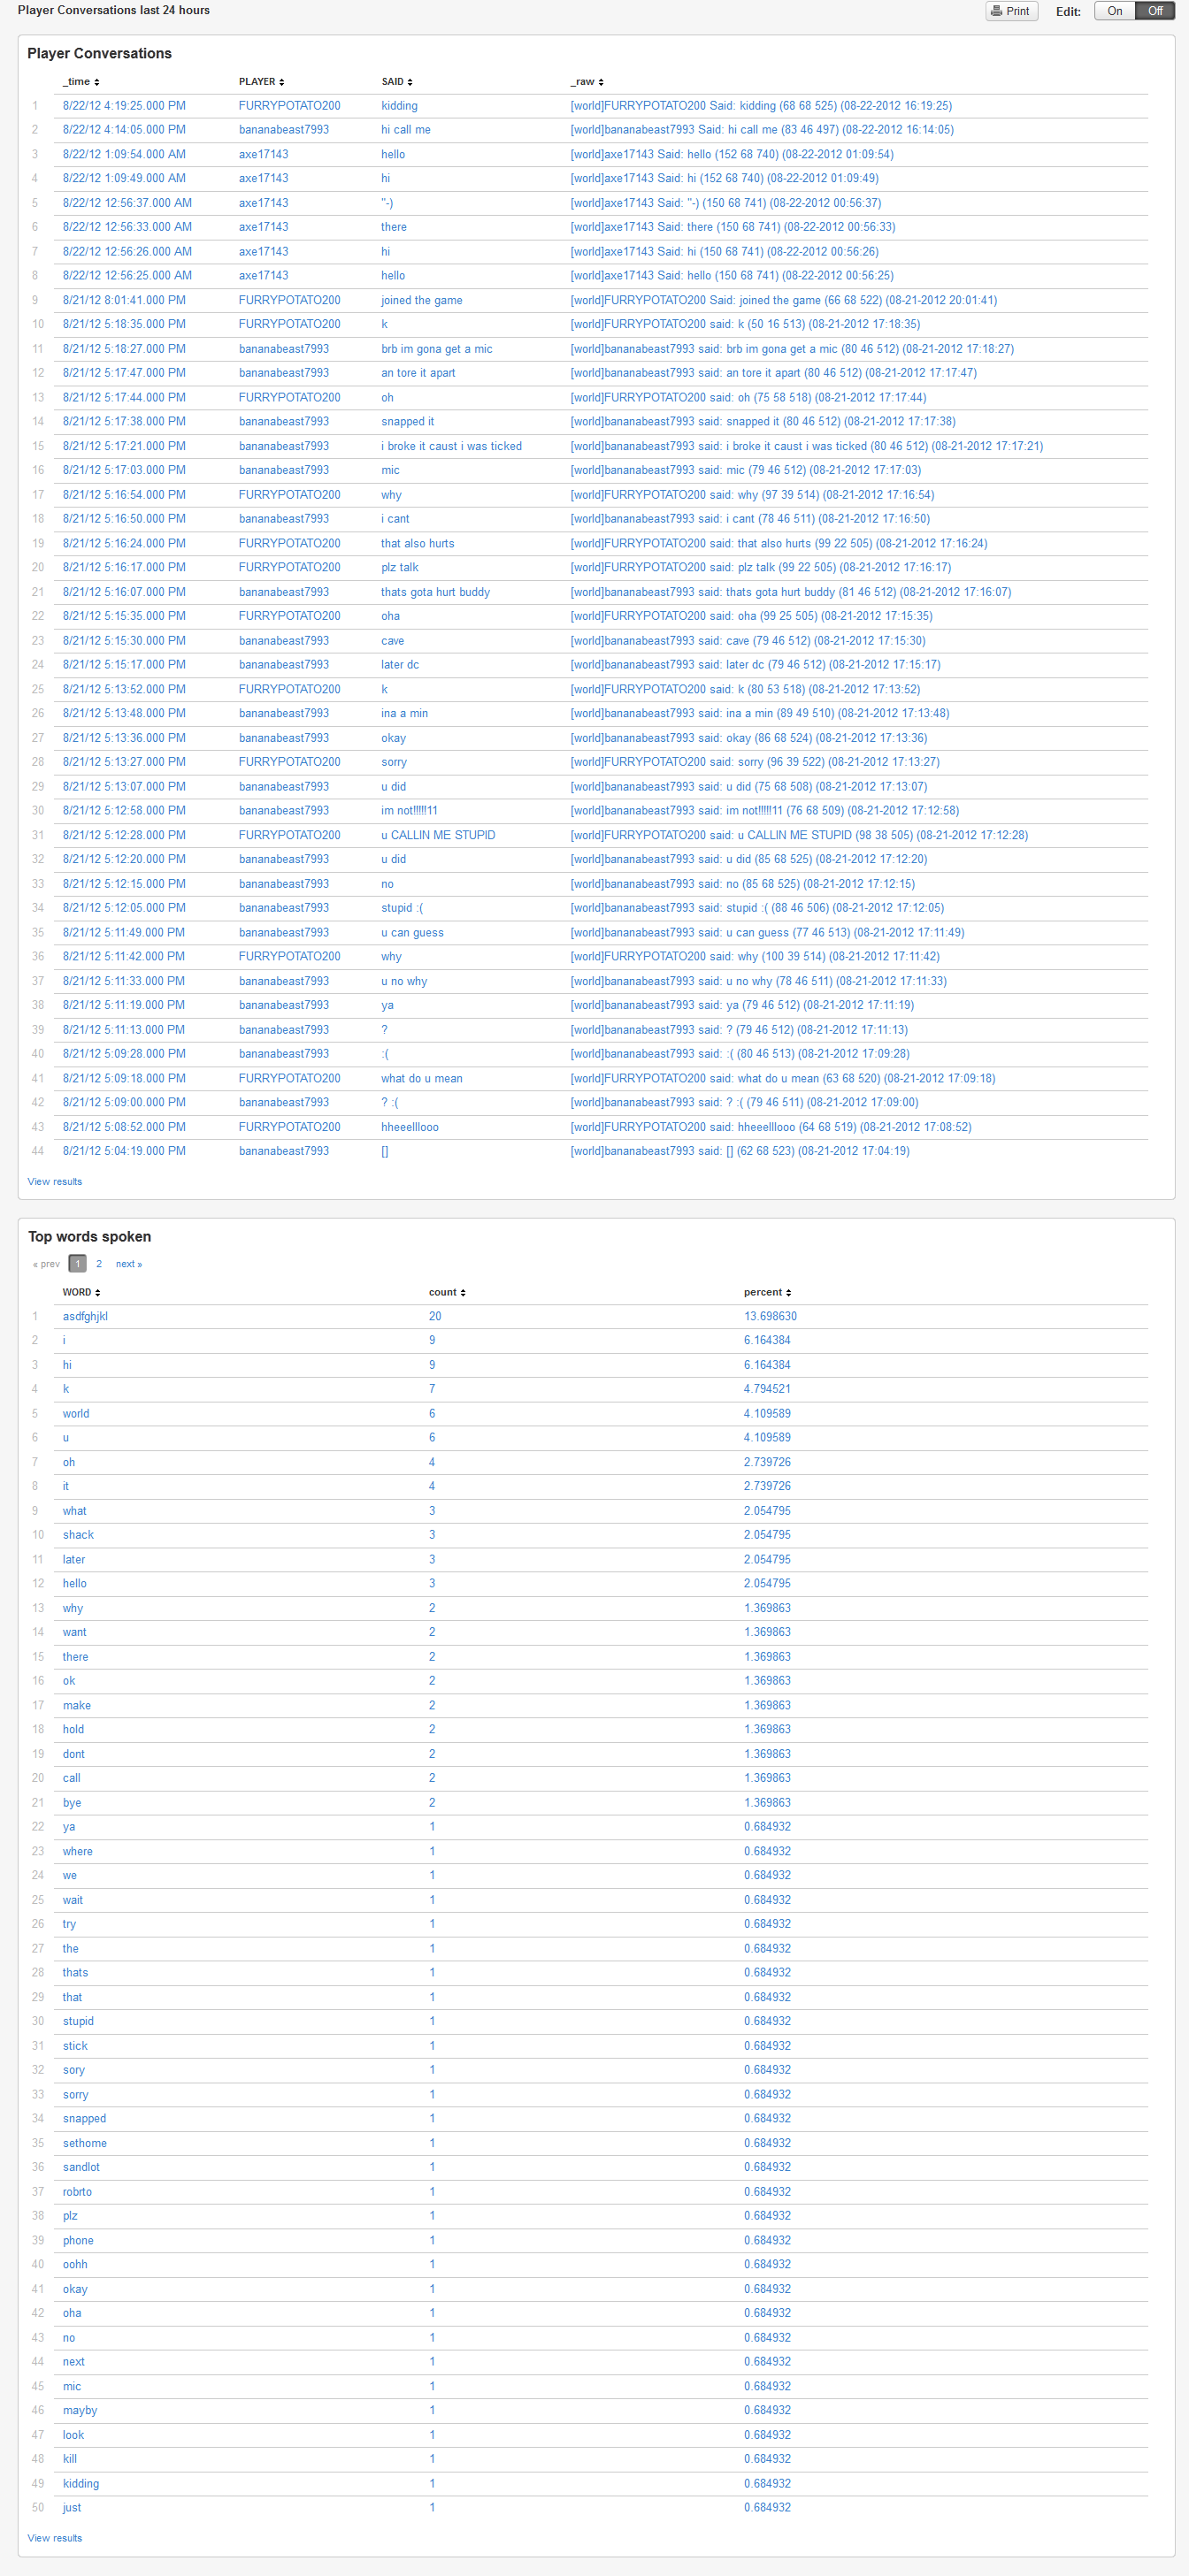
– Player in-game messages
– Player issued commands
Splunk Minecraft Realtime Dashboard
Steps to set up (I’ll be adding more details as time permits)
1. Install Craft Bukkit Minecraft Server (a popular build of Minecraft server which allows plugins) http://wiki.bukkit.org/Setting_up_a_server Start up the minecraft server. The first time the minecraft server is started it will create directories in the base folder where the craftbukkit.jar was placed.
2. Install Minecraft PlayerLogger plugin to allow additional logging on your Minecraft server from http://dev.bukkit.org/server-mods/playerlogger/files/16-player-logger-v2-8 and place the PlayerLogger.jar in the minecraft plugins folder. Restart your minecraft server and the PlayerLogger will create a folder under the minecraft plugins folder called PlayerLogger. In that folder you will see a configuration file called config.yml. Edit the config.yml file and under Blocks: on line 21 change ‘7’ to ‘*’. Delete lines 22 and 23. This will enable logging of all block activity instead of just blocks 7, 46 and 57. Save the file and restart your minecraft server.
3a. Install Splunk.
http://www.splunk.com/download
3b. Configure inputs. In this step, we tell Splunk which folders/files to watch for logs which it then indexes. After this step, Minecraft logs will be searchable via the Splunk web interface.
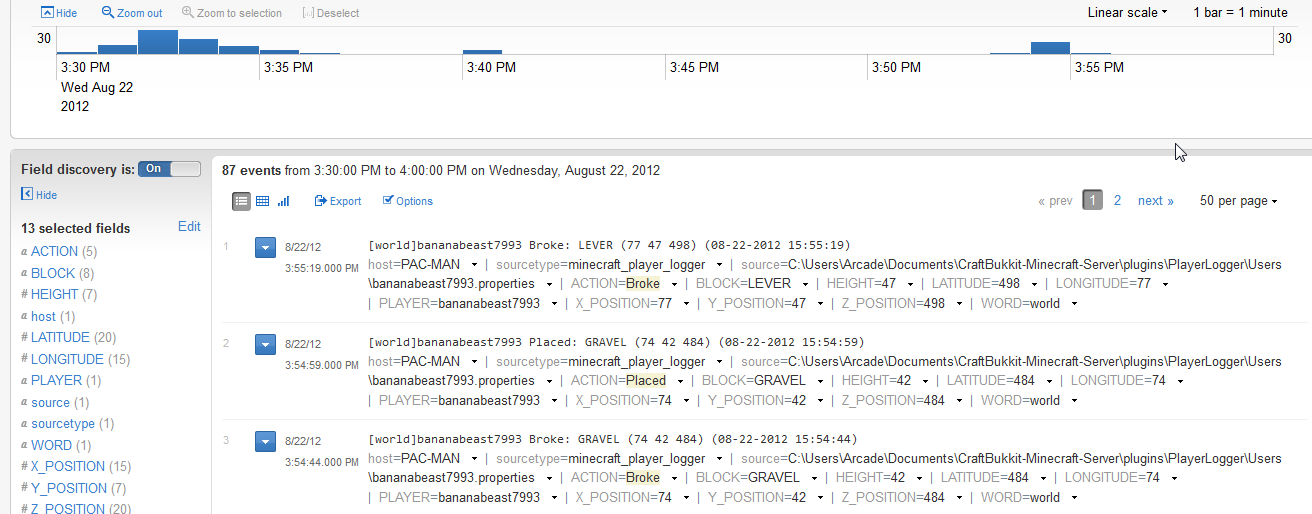
3c. Configure Splunk field extractions. We’re teaching Splunk using the regular expressions language to recognize patterns in the log and extract variables known as fields from a log record such as a Minecraft block type. Later on, this will allow us to rapidly search/filter on data in the logs and easily make graphs. example search: BLOCK=stone ACTION=broke would show us log events where stone blocks were broken.
3d. Create searches and graphs and add to dashboards


